Bearguy III

Build Fighter

Sazabi "Version Ka"

Reviewed by Toymaker

ODIN

REBOOT!

First Look

Review by Toymaker

 photo b25057d1-2a8e-4652-8627-502b93ccd5b6.jpg

Tuesday, December 5, 2006

Next Stop! F91s

As another chapter of Singapore BAKUC comes to an end, it is about time to move on! Just got myself a pair of F91s and finish snapping them. I am going to do something relaxing this round....

I notice that the joints are pretty tight and well fitted but could post some problems when I need to dissemble for priming.....


Sunday, December 3, 2006

"Raven" (MG Sazabi conversion)

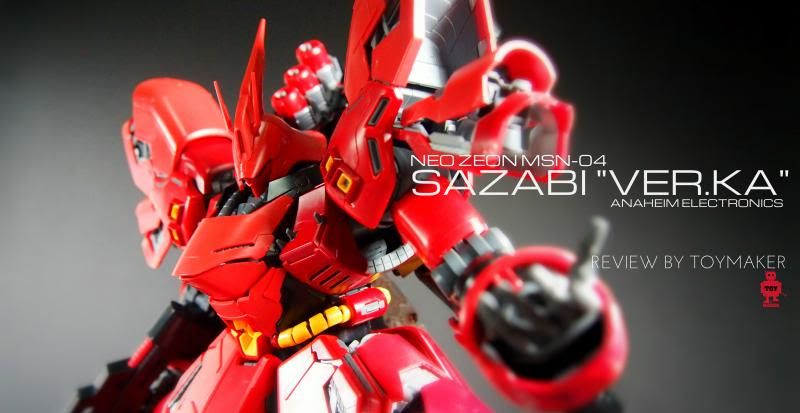
I finally get to take some decent pictures of my latest creation, "Raven" before I submit for BAKUC 2006. A few months ago, I was flipping through the the Gundam Weapons and came across some fantastic works of this Japanese modeller, Motoo OSUMI. His creation, "Goblins the gravity vanguard" was really mesmerizing. Eventually, I went ahead with a conversion using a MG Sazabi with such a concept in mind.


The first thing I need to do was to create an identity for my creation, I came up with "ATAG" (All Terrain Assault Group). A task force consisting primary of converted Sazabis. My initial plan was to create two converted Sazabis. however , I was too slow and hence only one made it. I wanted a Sazabi that is heavily armed and be able to conduct air raids/ assaults.

I did some scratch building but a majority of the kits were kitbashed from various model kits. I have to apologize in advance for the lack of WIPs as I seldom take photos during construction. These are the only few I have....


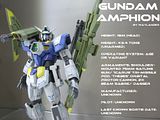
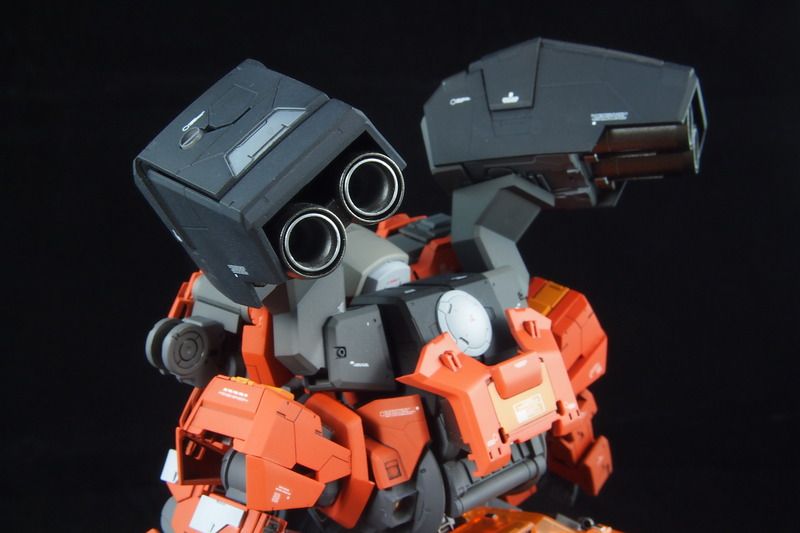
Well after three months, I completed Raven. Parts that I have used were a PG Aile Strike Pack, Missile Pods from Heavy Arms Gundam, Weapon from Serpent and the rest were built from scratch. Lots of pla-cards were used and it cost me a bomb.

Front View


Front View


Side View


Rear View


Close-up Torso


Close-up Torso 2


Rear Close-up


Close-up Leg


Close-up legs


Top View


Weapon


Raven with maintenance diorama


Now some pictures of the diorama.


Scratch-built these cargo containers


Before priming


Finishing painting the walls and ground


A little close up


Finished Maintenance Diorama


Fences


Hmmmm, where shall I put this cable ?


Hey! Quit staring and get back to work!


A bit crowded, man!


Read these instructions carefully....No touching, once broken considered sold.


Hey!!! You're still at it?


Cozy area to rest my butt


Damn these ladders! Who scratched them!?


How come I am seeing gaps between the fences? hmmm....


Hey!!! Raven's gone. What are you staring at!?


Ok folks, lights out!


Related Posts Plugin for WordPress, Blogger...

READERS