


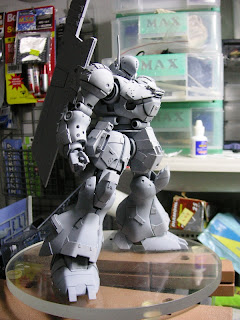
I managed to finish priming this kit today. However quite a few blemishes surfaced after priming. So I will be doing some touching up before I start painting. Got to hang in there for a while more.


Six more days!!!


Six more days!!!


They say old dogs cannot learn new tricks. But when I see Jaef Liang's GBWC entry this year, I know that statement is not so true a...


Build Fighter
Asura
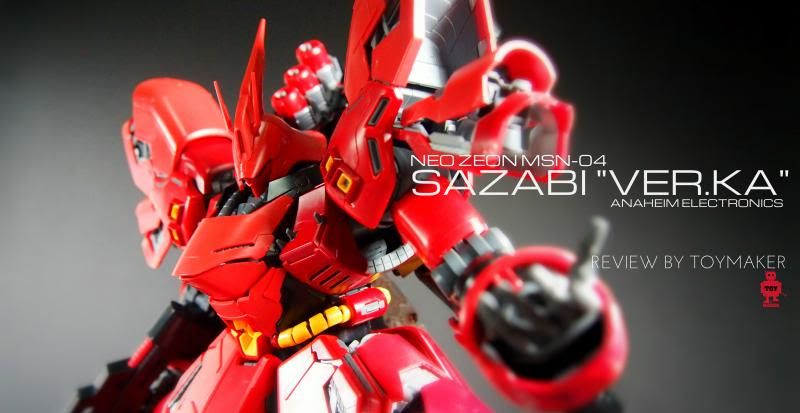
Reviewed by Toymaker
REBOOT!

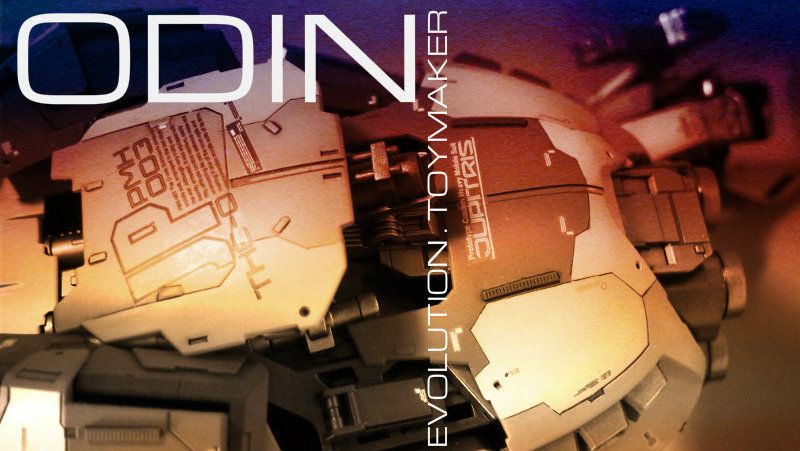
Review by Toymaker


