Phase 5! I finally got both arms done! Wow! It's already mid June, I really need to finish this up quick....
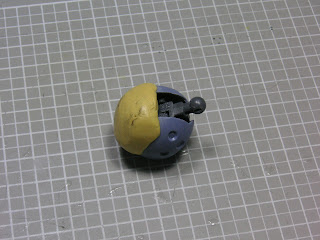
Sealed off the openings at the top of the shoulders.
Application of the putty.
After the putty completely cures, I proceed to sand down until I achieve a round and smooth surface.
Added Duct Nozzles from Kotobukiya.
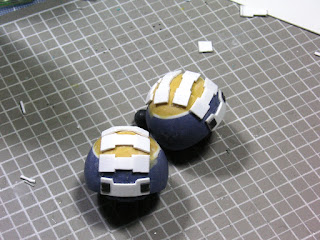
Cut some pla-plates into shapes and glued them to the shoulders
Added Round Molds from Kotobukiya.
Drill a hole on one of the forearms.
The plastic of this particular kit is extremely brittle, it is quite difficult to cut and drill without having cracks.
More detailing of the forearms.
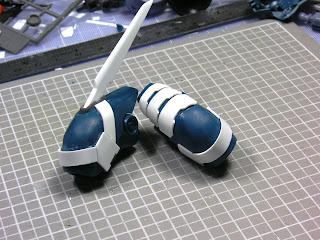
I have decided to attach a blade to the left arm.
I randomly drew a blade-like shape and proceed to cut out the design.
The blade is slowly shaped and sharpened using metal files and sand down using 600 grit sand paper.
The whole Kampfer! 
FULL Advance of Zeta: The Flag of Titans Vol.2
-
This second volume (the Dengeki Hobby Magazine Special photo-novel/mook
edition) continues the story of the Titans Test Team (T3 unit) during the
early-to-...
15 hours ago












7 comments :
sexy and very chio work LOLLL
i love the blade and all the mods!
what wasthat whit stuff you put on your kampfer?
Those are all pla-plates shaped to the plastic. :)
is the putty air dried?
Yup ,the putty "cures" in room temp.
do you face problems fixing this kit? cause apparently for mine, some parts were too tight and when i force it, it breaks. i alr have a few broken pieces. the plastic is very weak
Yes, the plastic is brittle. I have some parts broken off into several pieces. Ended up I mastered repairing plastic than modifying them...
Post a Comment