


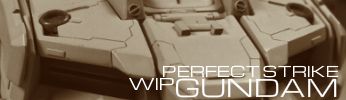


PG Strike Gundam WIP @ 10 May 2015

Post 1 - 12 April 2012
Post 2 - 21 July 2012
Post 3 - 4 January 2013
Post 4 - 17 January 2013
Post 5 - 10 March 2013
Post 6 - 18 March 2013
Post 7 - 1 April 2013
Post 8 - 1 June 2013
Post 10 - 11 November 2013
Post 11 - 2 February 2014
Post 12 - 28 February 2014
Post 13 - 11 May 2014
Post 14 - 25 August 2014
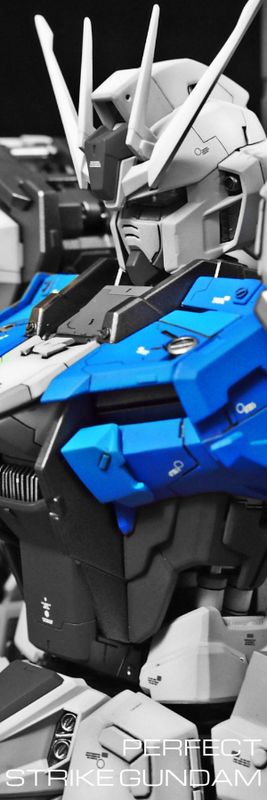
Post 15 - 10 May 2015 (Latest)
Post 15 - 10 May 2015 (Latest)
10 May 2015 (Post 15)
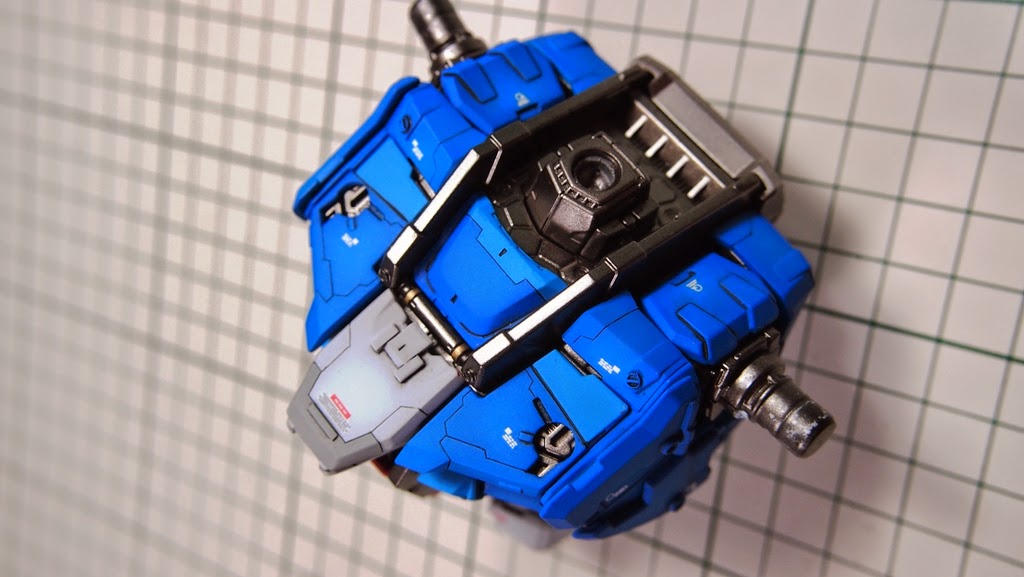
Wow! My last update is several months ago. Looks like I need to pay more attention to my blog. Well, I have started painted the Strike and so far so good. Enjoy!


25 August 2014


Next up. Launcher Strike WIPs.


11 May 2014 (Post 13)


.jpg)


28 February 2014 (Post 12)
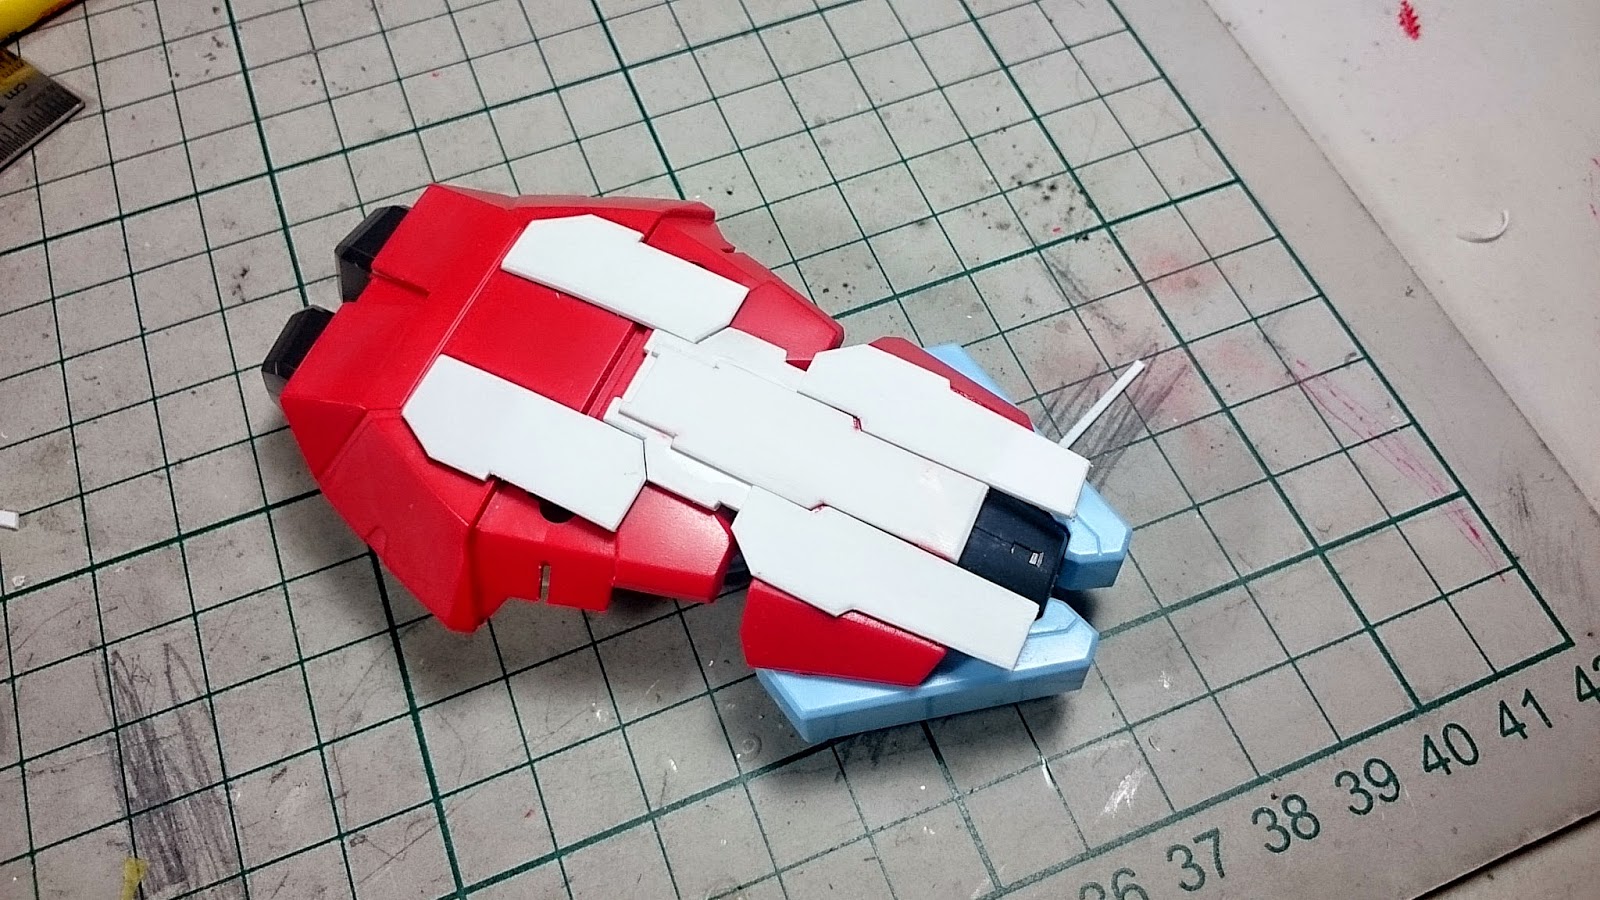
Started work on the sword strike pack. Basically I need to cut and trim down the Non Grade (NG) parts to fit into the PG Strike's shoulder. Not really tough. The tough part is to detail up the NG parts so that it complements the Perfect Strike design.


2 February 2014 (Post 11)
It has been awhile since my last update. Basically, I'm done with the main body and now working on the Aile Striker pack. Nothing major here but just additional detailing and pla-plating. Anyway, more pics less talk.


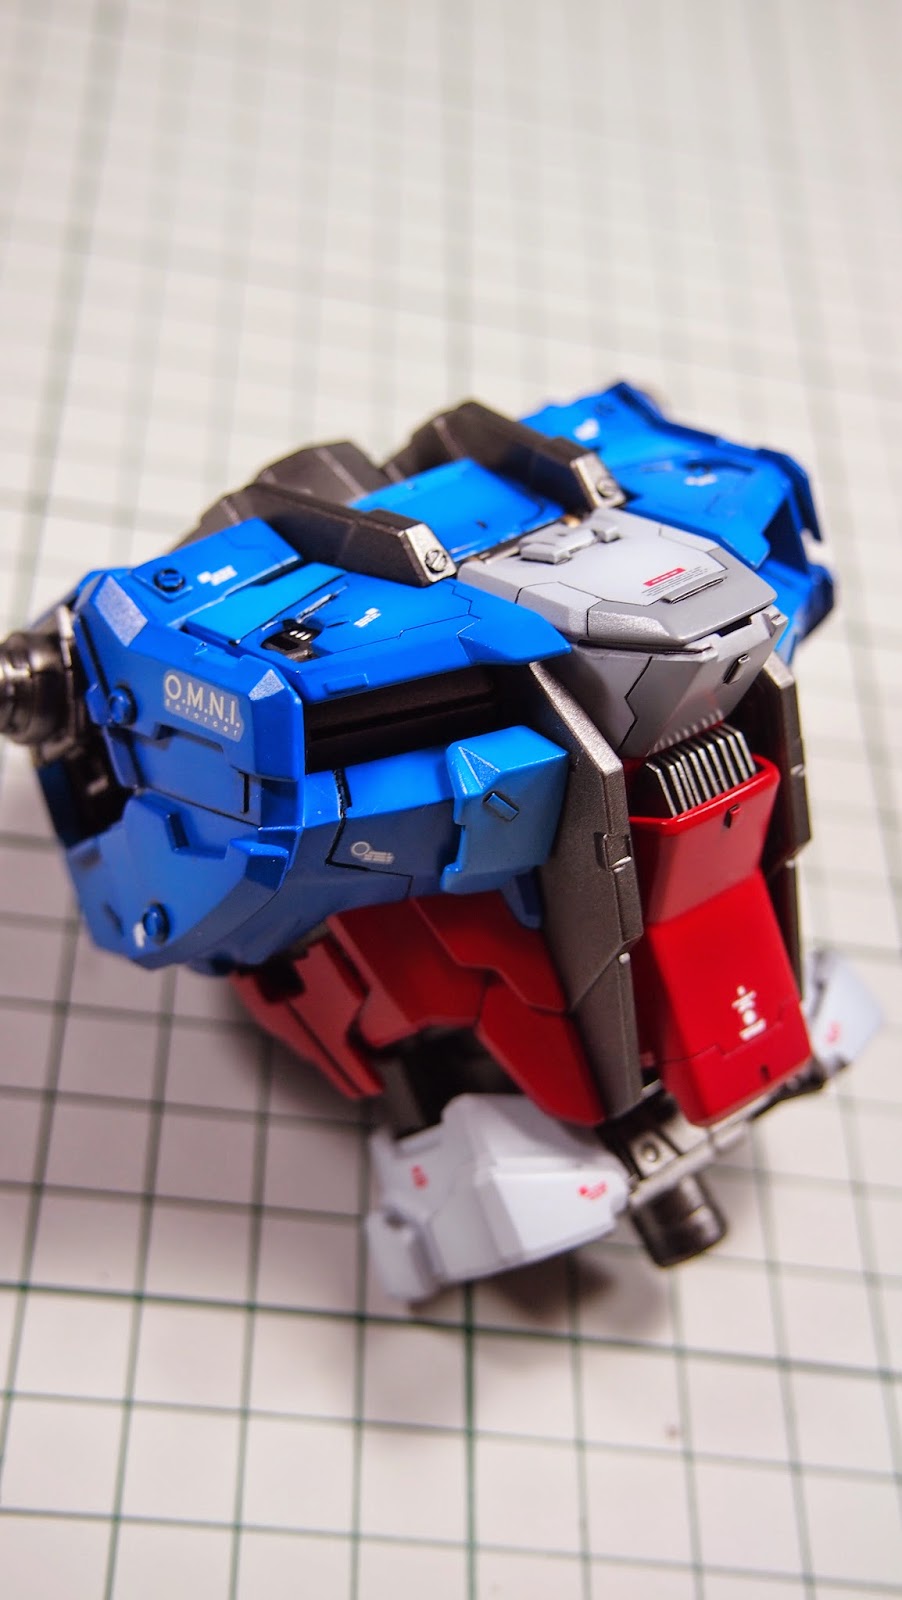
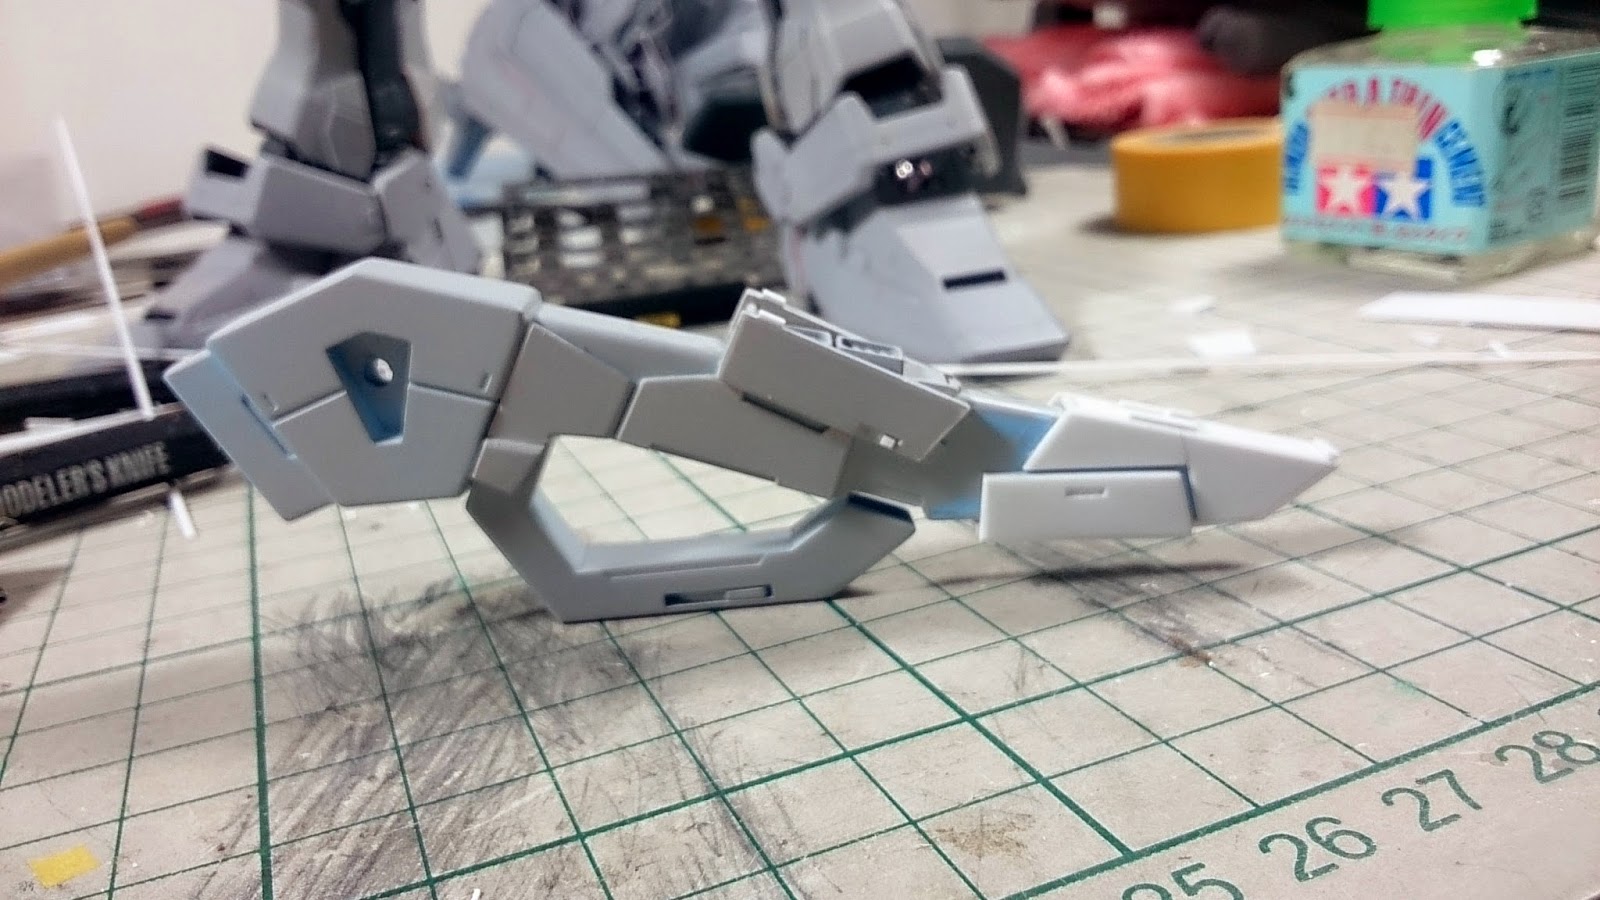
With the Aile Striker Pack finished, I shift attention to the other two weapon units. This will be tough since I'm using the 1/60 NG weapon units and I need to scale them up to Perfect Grade details. This is going to be interesting.
11 November 2013
.jpg)
.jpg)
.jpg)
.jpg)
.jpg)
.jpg)
.jpg)
.jpg)
.jpg)
+(451x800).jpg)
.jpg)
+(2).jpg)
+(451x800).jpg)
+(2).jpg)
.jpg)
+(451x800).jpg)
+(2).jpg)
.jpg)

.jpg)
.jpg)
.jpg)
11 July 2013
One final update on the body before I moved on to the legs. Modifications of the rear skirt armors.
.jpg)
.jpg)
.jpg)
.jpg)
.jpg)
.jpg)
.jpg)
.jpg)
.jpg)
.jpg)
.jpg)
1 June 2013
More work done on the side armors.
.jpg)
.jpg)
.jpg)
.jpg)
.jpg)
.jpg)
.jpg)
.jpg)
.jpg)
1 April 2013
Another mini update. I am beginning to gain momentum for this one. Today's work consist of cutting and separating the side armors. The purpose of this exercise is to beef up the separated armor pieces and reattach them.
.jpg)
.jpg)
.jpg)
.jpg)
+-+Copy.jpg)
+-+Copy.jpg)
Comparison before and after separation.
.jpg)
.jpg)
.jpg)
That's all for now. Will concentrate on detailing the side armors for the next few days.
18 March 2013 (Post 6)
Just some minor updates. Did some detailing on the front armors at the hips.
.jpg)
.jpg)
.jpg)
Added pla-plates to cover up the gaps when I extended the armors. You can't really see from the photo, but the two pla-plates are of different thickness.
.jpg)
.jpg)
.jpg)
.jpg)

That's all. I'm heading to Hong Kong right now! HooWoo!!!
10 March 2013 (Post 5)
.jpg)
For the past few weeks, I have been working on the Iron Kong and the PG Strike simultaneously. It was kinda distracting but I am getting used to it finally.
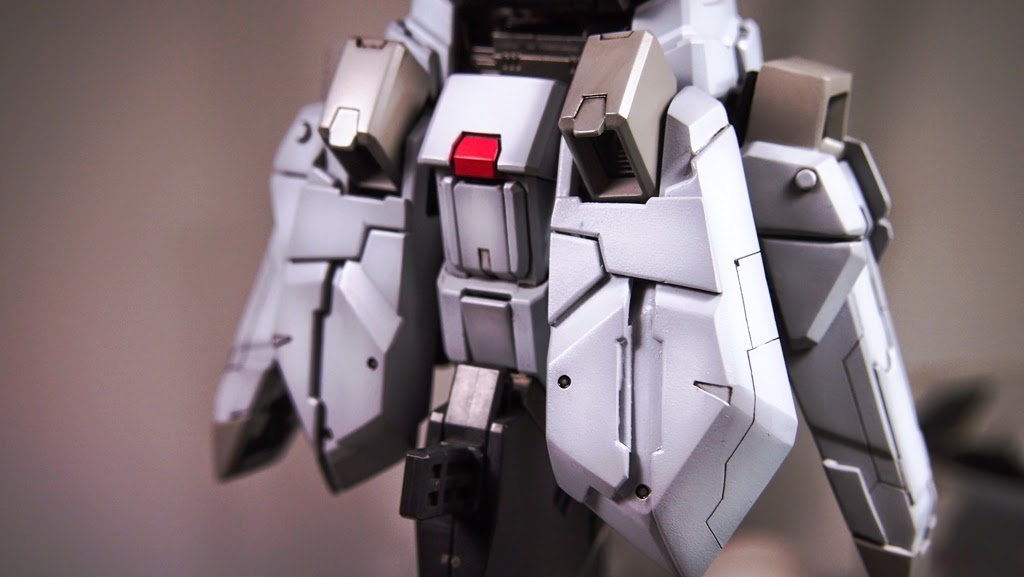
My last major modification on the Strike was to lengthen its torso. But by doing that, I have left a unsightly gap between the waist and torso. So I have to extend the cockpit hatch to cover up that gap and also make it more proportionate.
My intention was to "push" out the cockpit hatch because I felt that its too deep into the body. I lengthened the support (white part) for the hatch just for that.
.jpg)
.jpg)
.jpg)
.jpg)
I made the cockpit hatch into two pieces and added a heat sink to the middle to give it some complexity.
.jpg)
.jpg)
.jpg)
.jpg)
I added another layer of armour over the original to beef up the torso at the sides.
.jpg)
.jpg)
.jpg)
.jpg)
.jpg)
.jpg)
It looks like Rex's face, doesn't it?
.jpg)
.jpg)
.jpg)
.jpg)
.jpg)

Ok, that's all for now. Next, I will be working on the hip armors. Admittedly, I'm pretty slow while working on the Strike. That's because I want this guy to look good which is why I spent so much time designing and rectifying all the modifications I made so far.
Stay tuned.
17 January 2013 (Post 4)
In my last post, I lengthened the mid torso of the Strike. But that left a obvious gap between the torso and the hip. And the pistons at both sides needed to be lengthened as well.
.jpg)
.jpg)
The obvious gap between the torso and hips
.jpg)
Firstly, I have to add pla-plates to around the mid-joint of the torso. I had to think this one through as I wouldn't want the pla-plates to obstruct the articulation of the main joint.
.jpg)
.jpg)
The original pistons will be too short since I lengthened the mid torso.
.jpg)
.jpg)
Therefore, I used a discarded transparent rod and cut it to the desired lengths and glued them to the pistons. Had to be really delicate about this so I don't snap the rods.
.jpg)
.jpg)
Now, the torso can bend more to the sides. And fortunately, the rods withstood the test without breaking.
.jpg)
.jpg)
Added panel lines to the sides armors of the mid torso.
.jpg)
I foreseen that the joint will be weakened significantly once you joints by adding tiny strips of pla-plate at the poly caps. I also applied a layer of flat coat to the affected joints. To test the treated joint, I have attached the Aile Strike pack to the Strike Gundam and will leave it there for a few days. Hopefully, the joint can withstand the weight of the pack.
Lots of work for something you can't see after completion.
12 April 2012 (Post 1)
After much procrastination, I finally got down to work on the Strike. And like all my builds, I start on the head first. Nothing much right now, just some panel lines and basic pla-plating. Just some touch ups and I am all set to attack the body!


21 July 2012 (Post 2)
.jpg)
.jpg)
.jpg)
.jpg)
.jpg)
.jpg)
.jpg)
.jpg)
.jpg)
.jpg)
.jpg)
Finally got back to where I stopped. Before I resume on the detailings, I decided to work on lengthening it's torso. I always think that the body of the PG Strike Gundam is a bit short and can look better with a longer torso.
.jpg)
.jpg)
I cut out the supports marked in red so that I can pull down the lower torso. Once I got the position I wanted, I filled up the gaps with a mixture of putty and super glue. I have to be careful not to glue the polycaps as well.
.jpg)
.jpg)
.jpg)
Not too sure whether you guys can tell the difference but it looks much proportionate now to me :)
Stay tuned...
17 comments :
Awesome work so far Kenny!.... :D seems your going super detailed
Hi Master, I'm wondering if it's possible for u to make a tutorial and tips for drawing panel line. Thanks
Sure man, I have been putting this off for too long. Will come up with something soon.
Thanks a million! Keep the gunpla flame alive in singapore! :-)
Wow nice... How i hope i have this kind of skill. I love the way how you can do panel line on the torso, Fine and tight to the edge. Wondering how you do that.
You are so good at this Sir!
Mind doing a pic tutorial or if possible a vid on how to make those scribes. many tnx!
thats really look great.. can u show some comparison photo like before and after?
Where did you get the added layer on the skirts?
whoah amazing!!
Drools....
omg the person who's getting this commission is definitely getting more than what he is paying for! <3
Awesome man!
Would you mind sharing with us what specific type of saw u used to cut all the parts ? A picture of the saws would be perfect.
I just wonder how much u get paid for this commission :D i'm really curious about this.
Check out this tool. Perfect for sawing plastic.
http://www.hlj.com/product/HSGTP-4
Well, we didn't really discuss about pricing. I just do and see where it goes :)
Yo Toy, awesome work as always brother, loving every bit of it,keep it up.
Awesome build man, I just got my first perfect grade, the strike rouge as well and I started playing.... I always wanted to the kinda stuff you're doing but since I got no experience I'm trying to do it the other way, making it look nice and damaged using nothing but a sturdy little nipper. Any suggests what kinda good tools there are for those types of projects :D
Thanks for the comments guys!
@Qwer- the tools are rather straightforward. The usual tools most modeler has and a few chisels and cutters. It kinda hard to condense everything in this reply. Perhaps I work out something in a separate post...
Been following this thread for so long now. You are a true inspiration to all of us enjoying this hobby :)
Just a quick question. Im working on a pg strike also and would love to do the torso extension you did. Im assuming you cut the highlighted red part on the photo, lowered it, then plaplated or puttied the gap. But, did you also puttied the top part so that the polycap will still fit snugly right?Thanks and congrats on nearly finishing this masterpiece! Your detailing is insane!
Thanks for your kind comments.
I use putty as well as strip of pla plates to "strengthen" that area. So that the polycaps will not dislodge and give me heart attacks. :)
Post a Comment