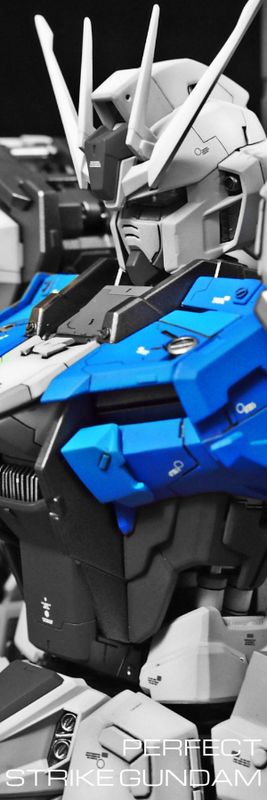
Now for the Phase 2 of the build-up process. For the main body, i tried to add more details and some basic shapes to it. However, I'm still retaining much of its shape. This is going to be pretty pla-plate intensive.
For starters, I filled up all the holes with putty and cut out a piece in front of the chest. I also increased the thickness by about 2mm.
I added some details to the upper torso with pla-plates by layers to create some "depth" to the otherwise flat surface.
Added more details to the chest and replace the pipes with used discarded cables/ wires i found.
More pla-plates for details and replaced those thrusters/ intakes with parts from Wave Option. Very useful stuff indeed!
More pla-plates were used for various details on the torso.
I really hate the curved surface at the groin area, so I had a pla-plate pasted over it and puttied it pending for details.
Cut a section from the I-Beam and shaved off one side to create a "cap".
The "cap" is inserted at the groin area. More details are added including a vernier and a panel line.
I created part of a "housing" for an additional thruster I'm planning.
Scratch built (i called it) maintenance handles for the back.
Created the internals for the housing.
Thruster and parts taken from Wave Option.
Back View with the additional thruster.
Ok, I have finished the main body of the Kampfer and will move on to the limbs pretty soon. My apologies for the lack of description. I think the pictures speak more than a thousand words (not that I have a thousand words to say, hee) !
FULL MS Gundam MSV-R Return of Johnny Ridden – Archive
-
Free Download zip and PDF: MS Gundam MSV-R Return of Johnny Ridden –
Archive Here below zip MSV-R Ridden Archive Here below PDF Archive MSV-R
Ridden
1 day ago


2 comments :
woooo~ nice work! currently i stop all my work, exam coming lol. will be posting after may =)
Great to hear that! Looking forward to it!
Post a Comment