


Whenever I start a new project, I always start with the head. This is because by getting the basic shape of the head, I will be able to get a feel of the overall proportion/structure of the unit and also in terms of modifications and design.
For the past few months, I had been doing research on how I want to portray this suit. I am thinking of doing variations but that is easier said than done considering how massive this kit is.
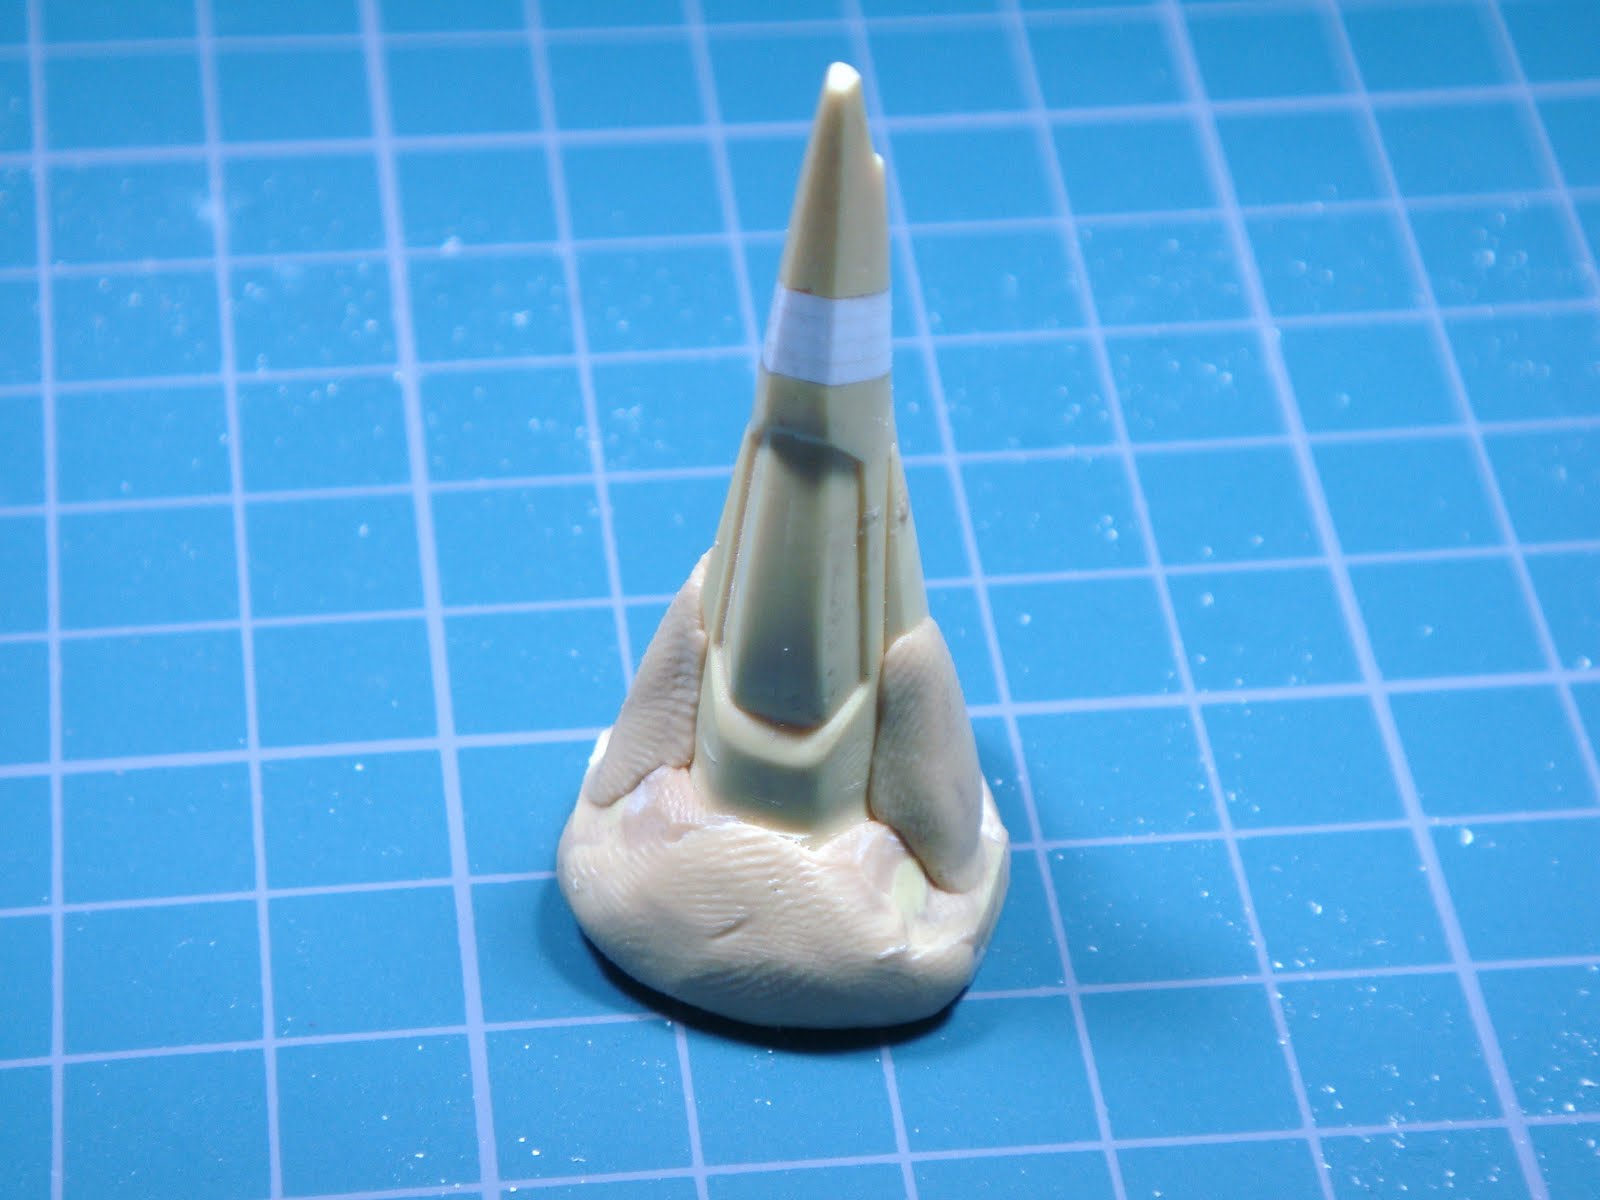
As you can see the pictures below, the MG O head is too rounded and gives a "soft" expression. Basically, it lacks bite. Here are some close-ups of the stock head.


My first move was to cut out the lower portion of the head with the intention to broaden the sides.

I lengthened the top part by adding three pla-plates of 2mm each. I craved out an opening for me to install the sensor.


I have broadened the sides with four 0.5mm pla-plates and then reconnect both parts using super glue.

Lengthened this front part of the head

I have to re-create the sides of the face as well. The original ones are too close to the face.

Next step, I used Tamiya Quick Type putty to cover up the gaps and also create the basic shapes at the sides of the head. Its takes about 24 hours to cure completely. But after about 2 to 3 hours, I started craving the shapes with a hobby knife. It will be easier to work with since it ain't rock hard yet.


After a day, I further trimmed down the putty with a hobby knife and assortment of metal files.


I used pla-plates to frame the back and the sides of the head to increase the width further.

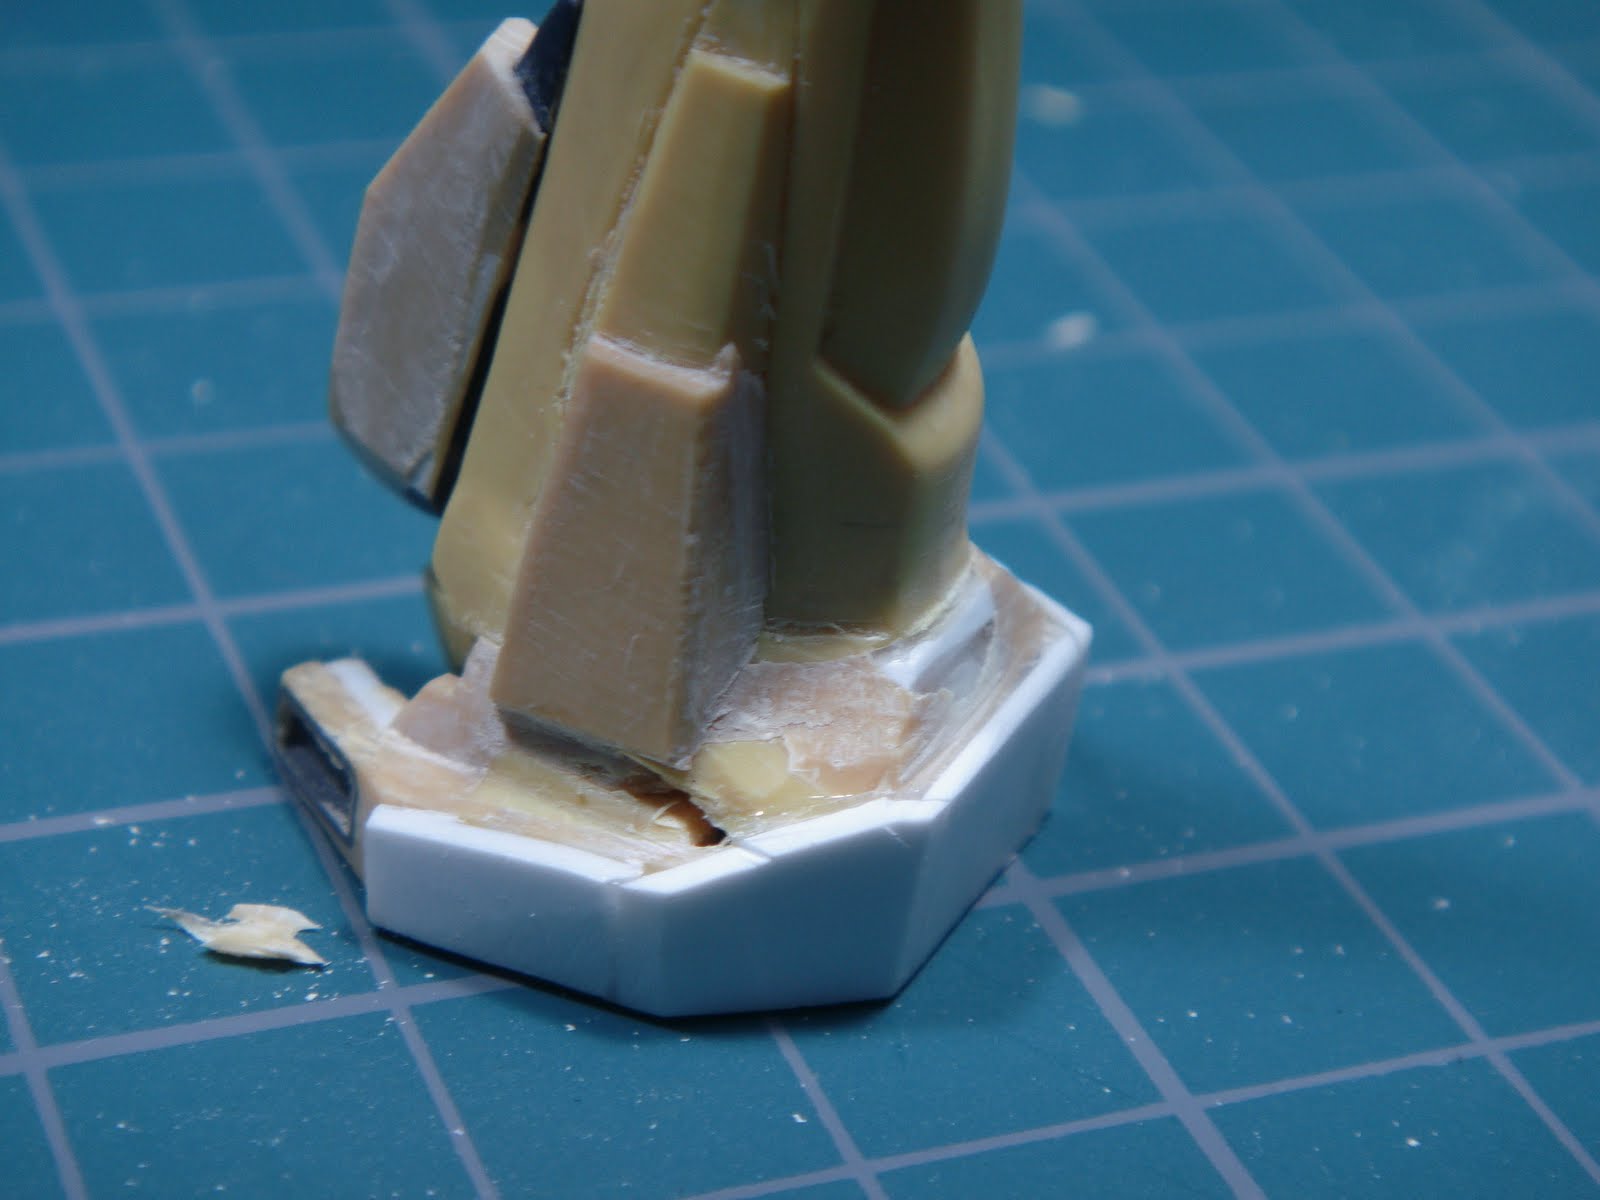
Things are pretty raw at this stage but I will refine the details further later. In fact, a part came off when I exerted too much strength on it. I filled up the hole with super glue and sand it down.


I trimmed down the the mouth piece to a "V" shape to give it a more menacing look.

I wasn't really satisfied with this part so I added pla-plates to both sides to create layers.

This will be the basic shape of the head.


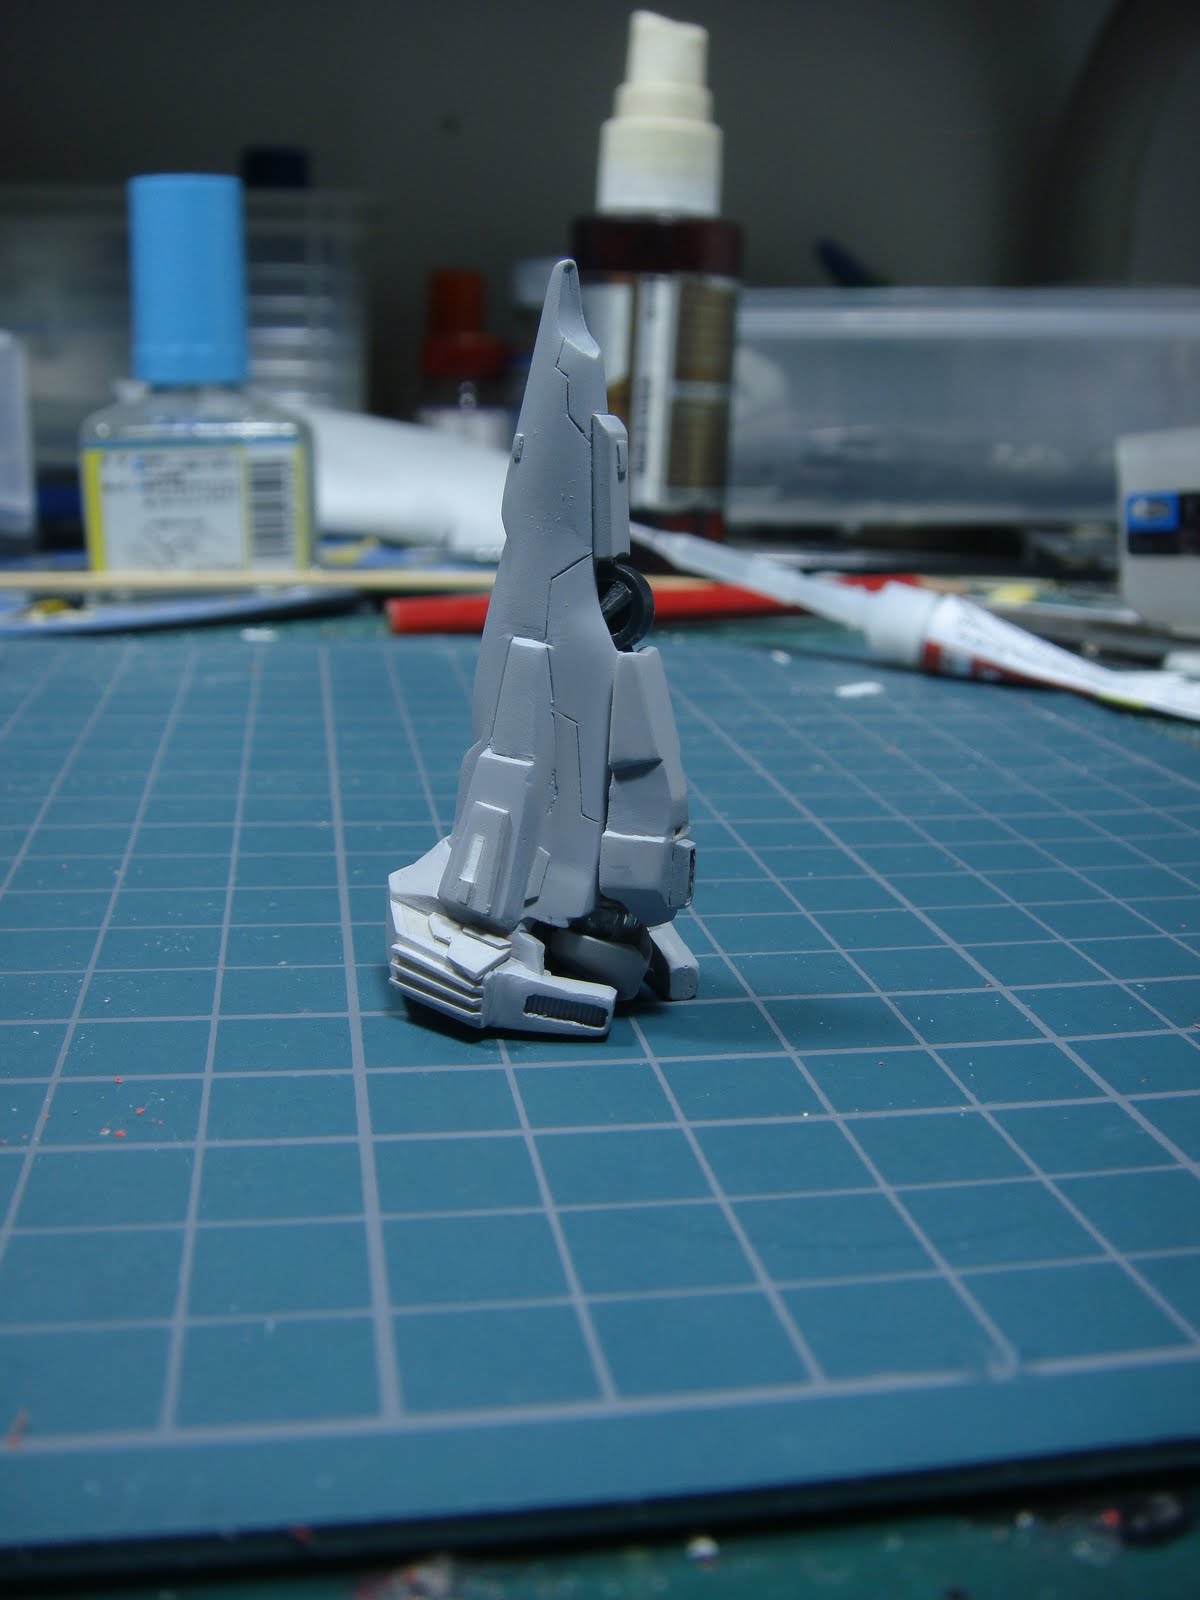

Before sanding down

After sanding down. You noticed that I had to remove the yellow parts at the neck as the head is now broader. So my work has been cut out for me already for the neck area.
Well that is all for now. The head is still not finished at this juncture. There are more refining to be done and also some blemishes to touch up. My objective of getting a basic shape has been achieved and this gives me a better idea on how to build the rest of the body.
Next stop, I need to re-modify the neck since the stock one is too short.
Updates soon...


4 comments :
as usual.. great job on it kenny..
will look forward for the rest, esspecially on its body..
Dude awesome work I can learn a few things from you!
Kinda reminds me of one of the mechs from Armored Core.
hi sir.. any to anyone who might be interested into my newly published blog,,i just wonder that by sharing my blog, someone will surely be able to share me new ideas and learning with what i do..thanks.. its http://koibitoomocha.blogspot.com/
Post a Comment